Using Heat Zones for Optimal Grilling Results
13 min read Learn to master heat zones on your grill for perfectly cooked meats and vegetables every time. August 05, 2025 12:05
The Art and Science of Heat Zoning: Elevating Your Grill Game

Summer evenings, a gentle breeze caressing the backyard, the faint smoky aroma wafting through the air—this is the scene where culinary magic unfolds with the careful orchestration of heat on the grill. For seasoned grill masters and passionate home cooks alike, understanding and harnessing different heat zones is not just about cooking; it’s an art form rooted in tradition, chemistry, and sensory mastery. Mastering heat zones transforms an ordinary barbecue into a memorable culinary experience, elevating flavors and textures in ways that make jaws more satisfied and smiles broader.
What Are Heat Zones on a Grill?

In essence, heat zones are specific areas on or within your grill that maintain different temperatures, allowing you to cook multiple components of a dish simultaneously while achieving perfect results. Think of your grill as a delicate palette—a canvas painted with varying degrees of heat that can sear, caramelize, smoke, or gently warm depending on your needs.
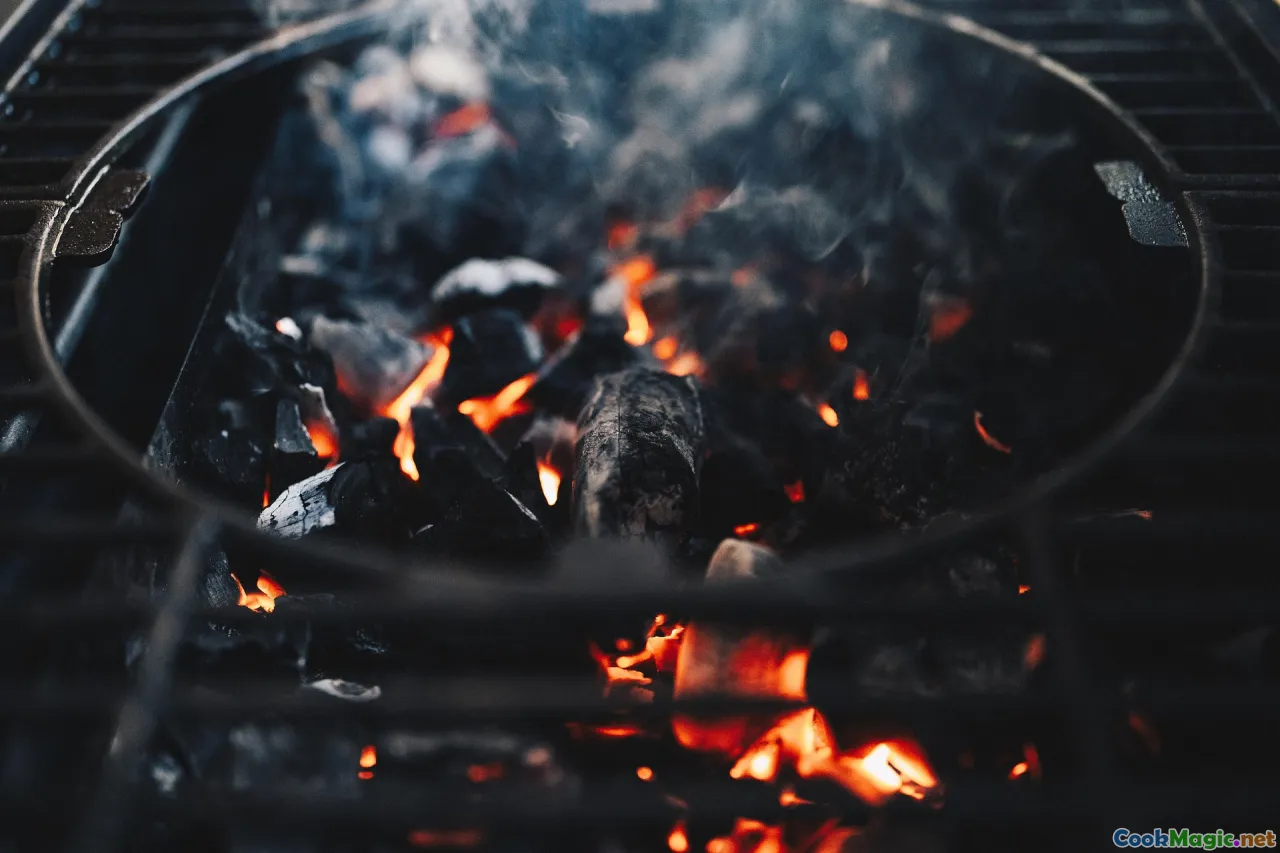
Traditional charcoal grills naturally create distinct zones: a hot side where intense flames blow at the meat, and a cooler side where indirect heat gently cooks or finishes the dish. Gas grills, with multiple burners, provide a more precise environment by adjusting individual zones to fine-tune heat levels. Each zone serves a unique purpose: high heat for searing, medium for roasting, and low for slow cooking or warming.
Historical Relevance and Cultural Significance
Across cultures and centuries, the concept of heat zoning has been inherent to communal cooking. In Korea, the famed Gogigui ( Korean barbecue) exploits direct and indirect heat zones within a single tabletop grill, creating a dynamic interplay between charred, smoky flavors and tender, juicy bites. The ancient Polynesians relied on open fires with varying ember intensities to roast fish and root vegetables, intuitively creating zones of different heat for complex flavor layers.
In the American South, pitmasters have long mastered the art of controlling heat in wood-fired pits over hours, developing distinct layers of temperature that yield ribs so tender they pull away with a whisper, moistened with a moment’s patience. These traditions remind us that understanding heat zones isn’t just modern science—it’s a soulful craft that connects us to food’s most primal roots.
How to Identify and Create Heat Zones in Your Grill

For Charcoal Grills
- Setup: Heap charcoal on one side of the grill, creating a mound and leaving the other side devoid of direct coals.
- Lighting: Light only one side—this becomes your hot zone.
- Testing: After the charcoals are ash-gray, test the temperature by holding your hand above the grate: 1-2 inches away, hold firmly for 2-3 seconds for high heat (~450°F+), longer for cooler zones.
- Use: Sear steaks at the hot side, then move them to the cooler side to finish cooking gently.
For Gas Grills
- Setup: Turn on one or more burners to high heat, leave others on low or off.
- Testing: Use a grill thermometer to measure each zone's temperature—aim for 400°F+ in the high zone, 300-375°F in medium, and below 300°F in low zones.
- Use: Engage different zones to control caramelization, slow roasting, or warming.
Practical Applications: Step-by-Step Guides
Searing with a High-Heat Zone
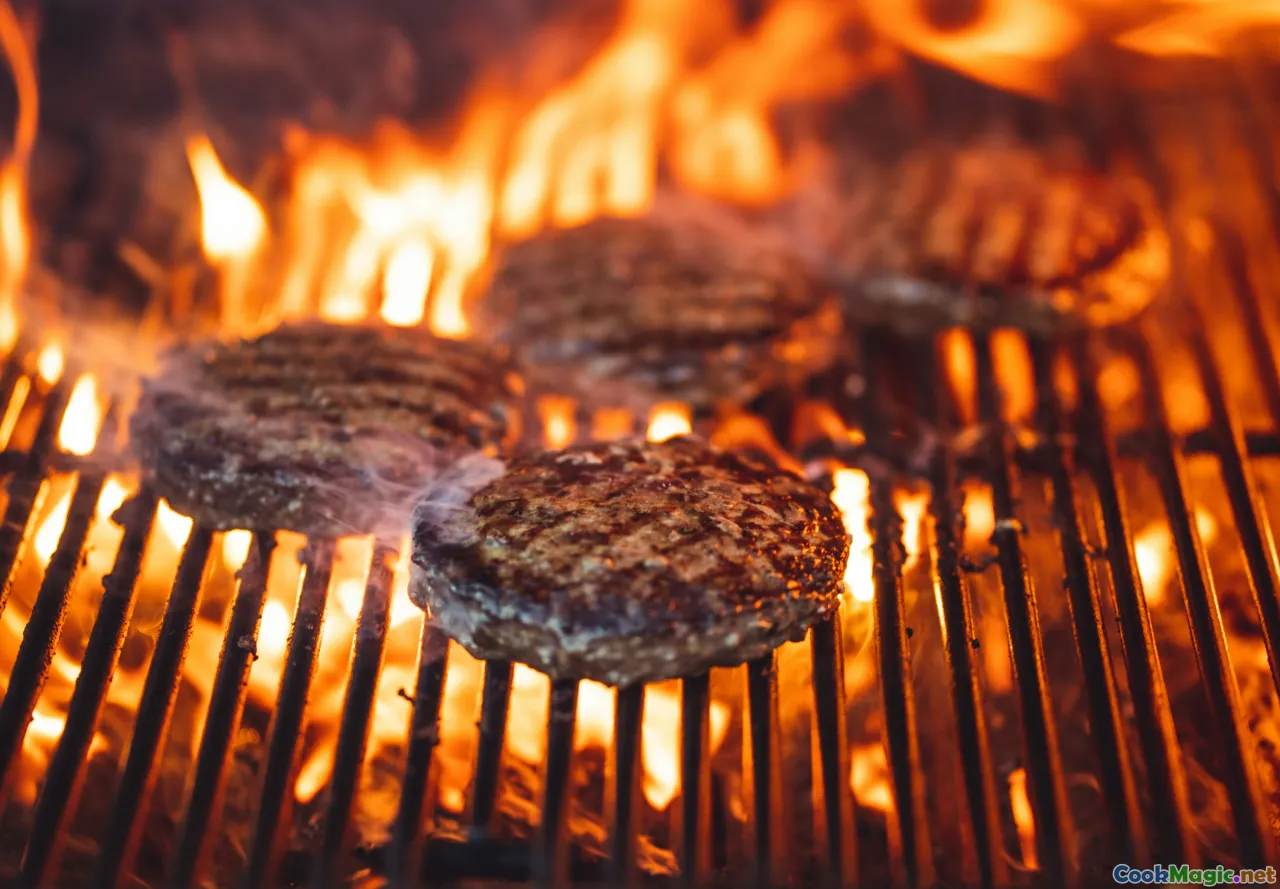
A perfect steak gets its irresistibly caramelized exterior, a result of the Maillard reaction—an exchange of flavors made possible through high heat.
- Step 1: Preheat your hot zone to about 500°F.
- Step 2: Pat dry your steak and season generously.
- Step 3: Place the steak directly over the hot zone. You should hear a loud sizzle instantly.
- Step 4: Sear each side for 2-3 minutes to develop a deep crust.
Gentle Cooking in a Cooler Zone
After searing, transfer the meat to indirect, medium or low heat zones to finish cooking without burning.
- Step 1: Move your steak to the cooler side.
- Step 2: Use a thermometer to monitor internal temperature.
- Step 3: Cover if desired, or close the lid on your grill to trap heat.
- Step 4: Remove from heat at the desired doneness—ideally between 130°F for medium-rare to 140°F for medium.
Smoke and Slow Roast with Low Heat
Certain dishes, like tender pulled pork or smoky chicken, rely on long, slow cooking at low temperatures.
- Step 1: Keep the low zone around 225-275°F.
- Step 2: Add wood chips or chunks for smoke flavor—hickory, applewood, or mesquite enhance different cut qualities.
- Step 3: Use a water pan to maintain moisture.
- Step 4: Maintain temperature with vents or burner adjustments, checking periodically.
Comparing Heat Zones for Different Dishes—A Culinary Perspective
| Dish | Optimal Heat Zone | Purpose & Tips | Visual & Textural Outcome |
|---|---|---|---|
| Steaks | High (450°F-500°F) | Rapid sear to develop flavor and crust | Juicy interior, crispy exterior |
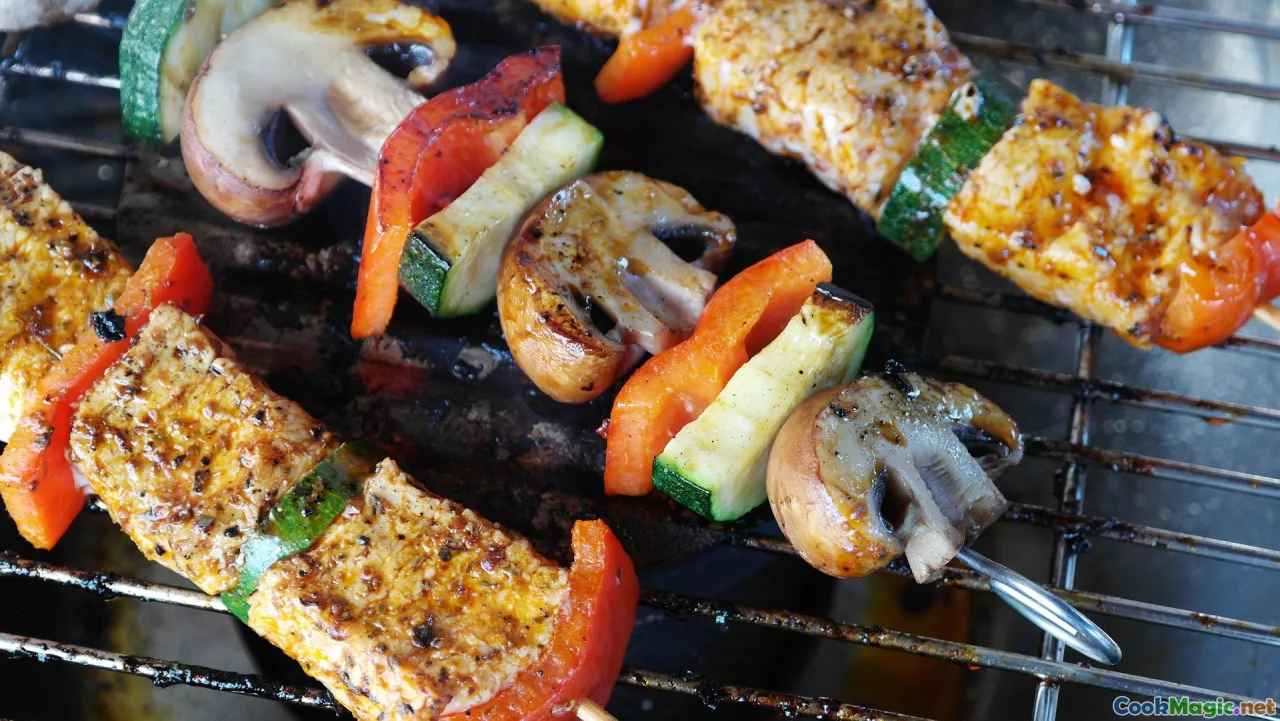
| Chicken Wings | Medium-high (375°F-425°F) | Crisp perfection with tender meat | Gorgeous char marks, tender bite |
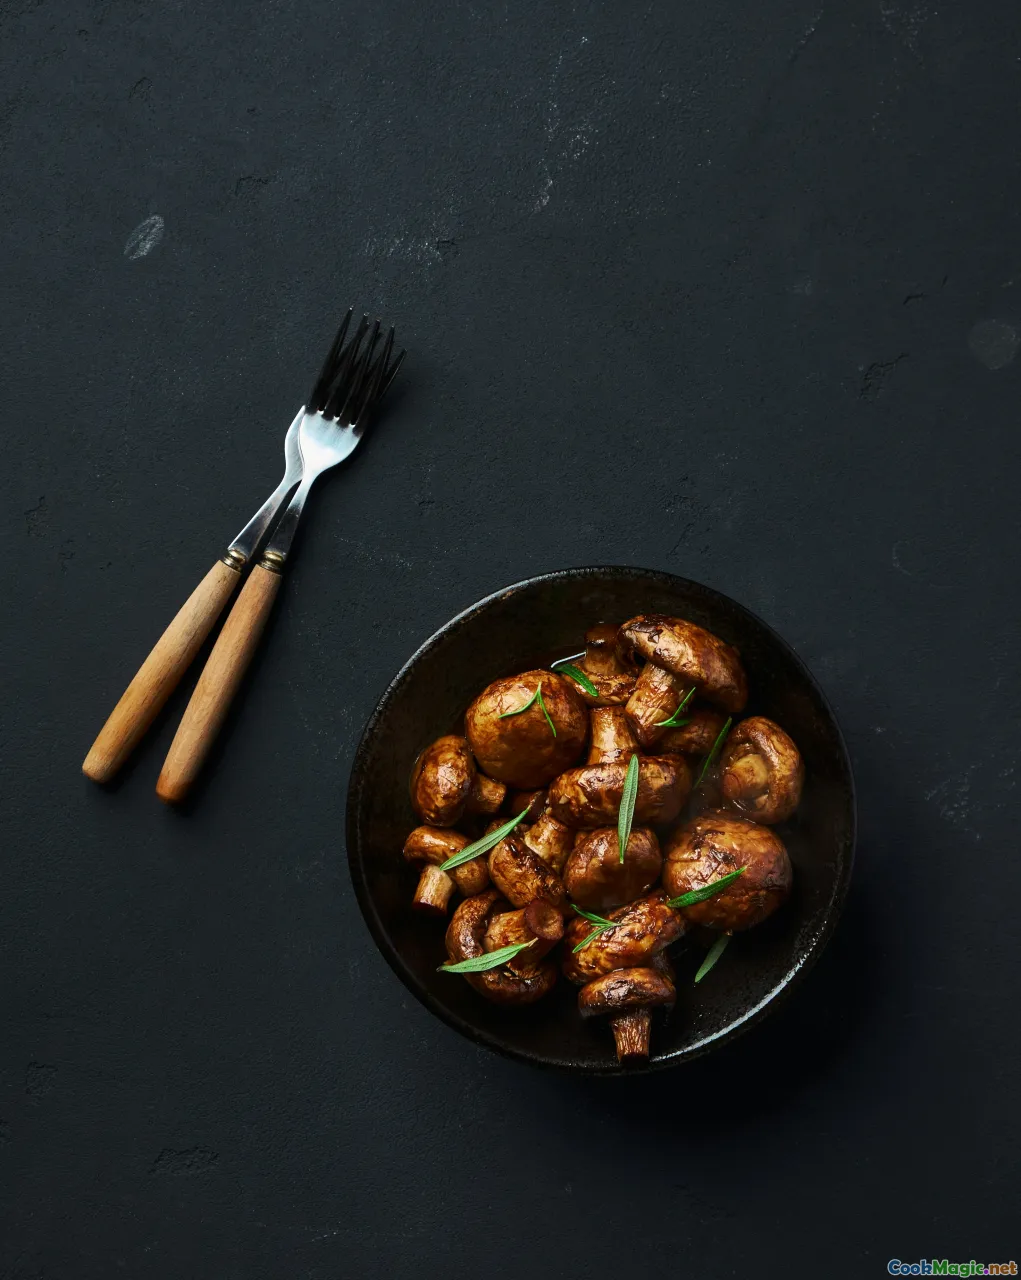
| Vegetables (Pierced and charred) | Medium (350°F) | Caramelization and smoky flavor | Crispy edges, soften center |
| Pulled Pork/Brisket | Low (225°F-275°F) | Long smoke process for tenderness | Fall-apart texture, smoky aroma |
| Fish | Medium-low (325°F) | Gentle heat prevents dryness and sticking | Flaky, moist, with a light glaze |
This table underscores that strategic heat placement turns good grilling into unforgettable, multisensory experiences—each dish showcasing its ideal textures and flavors through precise heat management.
The Emotional and Personal Connection of Heat Zones
My own journey with heat zones began during a summer spent under the Mediterranean sun, where I watched my grandfather expertly lean into his grill, adjusting vents and moving skewers across different intensities of flame. That knowledge wasn’t confined to technique; it was embedded in the soul of shared meals, stories, and the laughter that encircled the bonfire.
Every layer of heat on a grill has a story—an age-old dialogue between fire and flesh, smoke and seasoning. When I cook, I’m honoring generations of cooks who have understood that patience, not just flames, crafts unforgettable flavors. It’s a tactile, emotional act, transforming raw ingredients into warm memories.
Beyond the Grill: Applying Heat Zone Wisdom to Broader Cooking Techniques
Although heat zones are most apparent outdoors, the principles transfer seamlessly indoors. For instance:
- Oven Roasting: Use the oven’s heat distribution—hot spots near the heating element versus cooler areas—to develop crispy skin on roast chickens or caramelized vegetables.
- Stovetop Searing and Sautéing: Cast iron pans provide localized hot zones that create rapid Maillard reactions, while surrounding areas remain cooler, allowing for nuanced cooking.
- Smoking and Plant-Based Grilling: Employ indirect heat zones within smokers or grill baskets to build complex layers of flavor in plant-based ingredients like eggplant, peppers, or tofu.
Final Tips for Mastering Heat Zones
- Invest in a Good Meat and Grill Thermometer: Precision is key when managing multiple zones. Digital probes help monitor internal and surface temperatures.
- Practice Makes Perfect: Spend time testing your equipment. Different grills have unique heat distribution quirks.
- Create a “Heat Map”: Make a quick diagram of your grill, noting which areas run hot, medium, or cool. Use it during subsequent grilling sessions.
- Experiment and Taste: Don’t be afraid to test different foods in different zones and note the results. This hands-on learning sharpens your intuition.
- Maintain Your Equipment: Keep grates clean and vents or burners unobstructed, ensuring consistent heat zones.
And perhaps most important: remember that mastering heat zones isn’t solely about mechanical precision—it’s about getting in tune with your ingredients and your palate, creating harmony across flavors, textures, and aromas.
Grilling with finesse is a personal dance with fire, weaving tradition with innovation, and passion with patience. When you learn to wield your heat zones skillfully, every meal becomes a story—one of transformation, sensory delight, and connection rooted deeply in the primal power of fire.