Unlocking Flavor With Homemade Infused Oils
10 min read Discover how to craft flavorful infused oils at home to elevate your dishes with vibrant, personalized tastes. September 30, 2025 12:05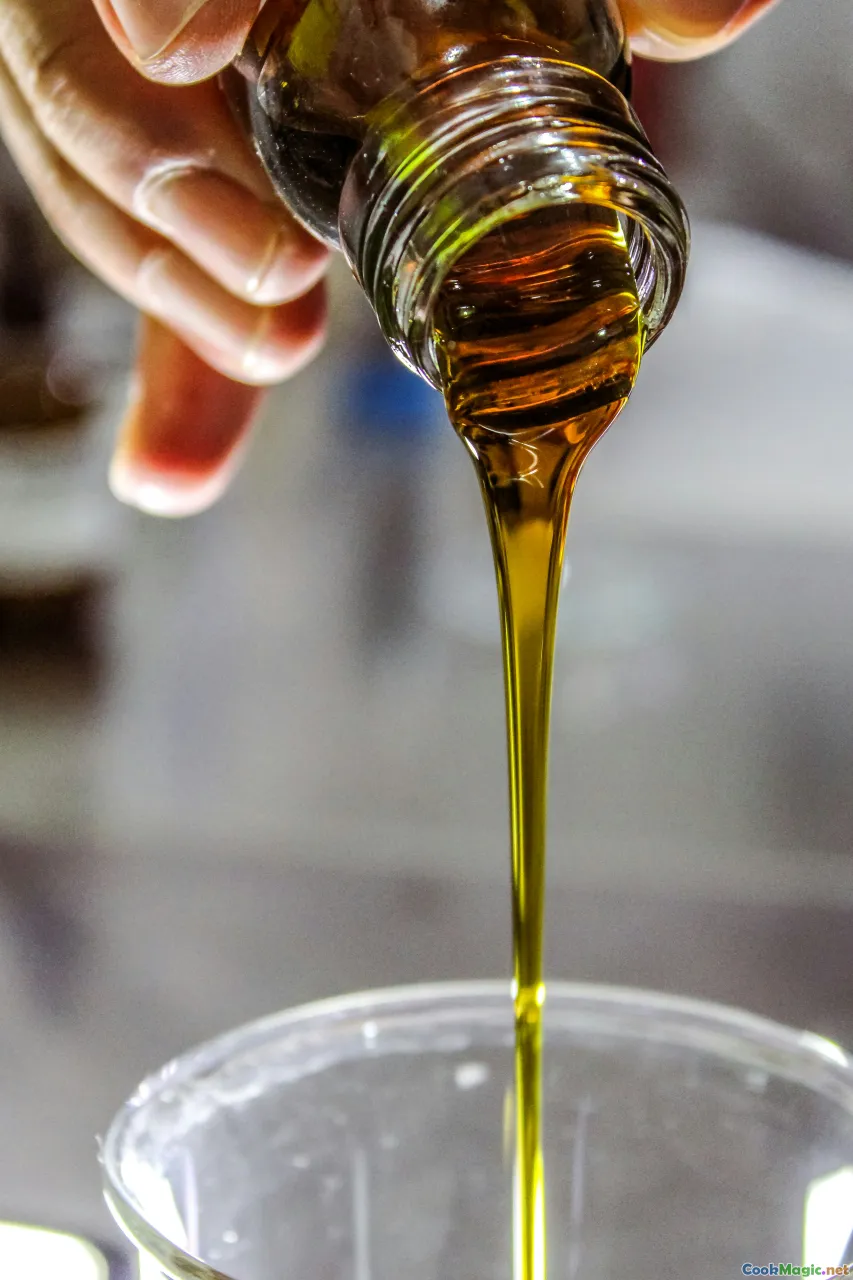
Unlocking Flavor With Homemade Infused Oils
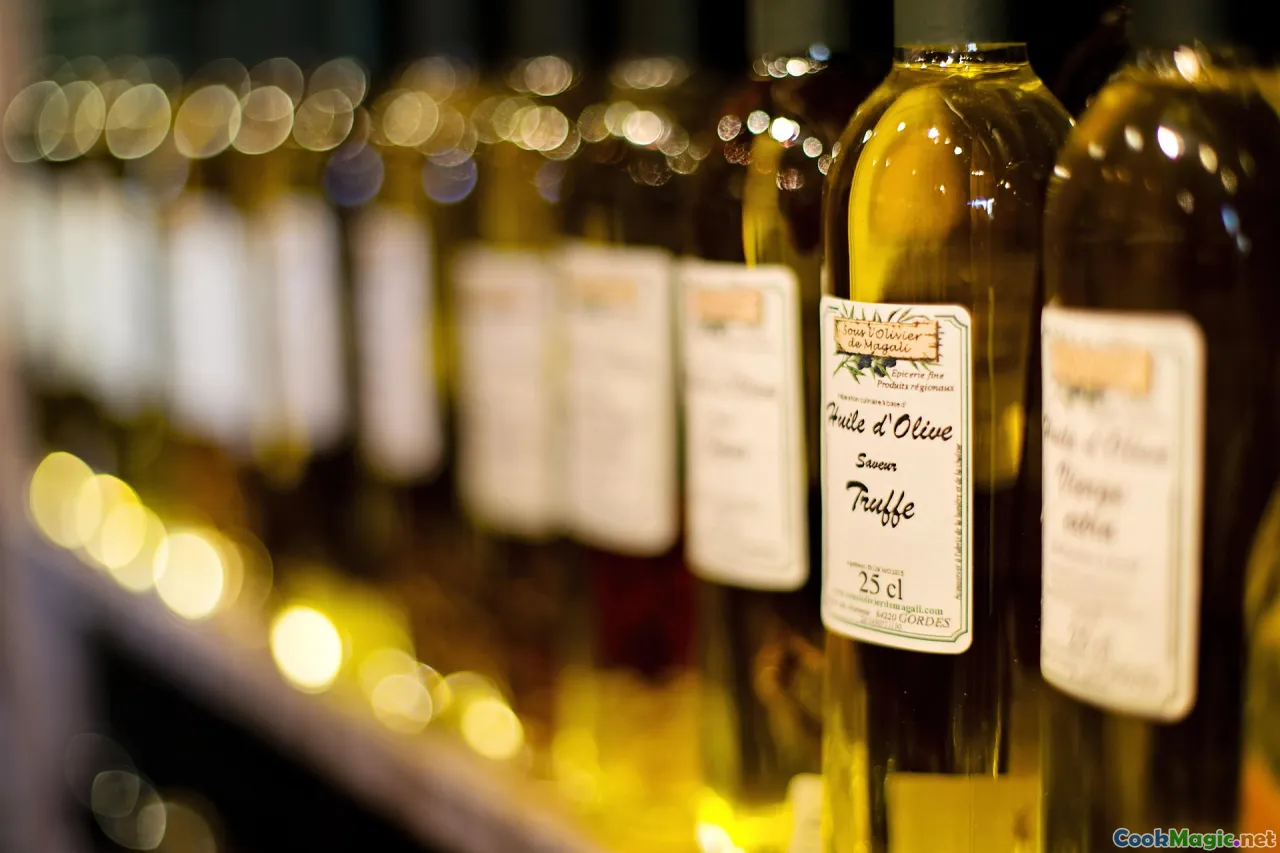
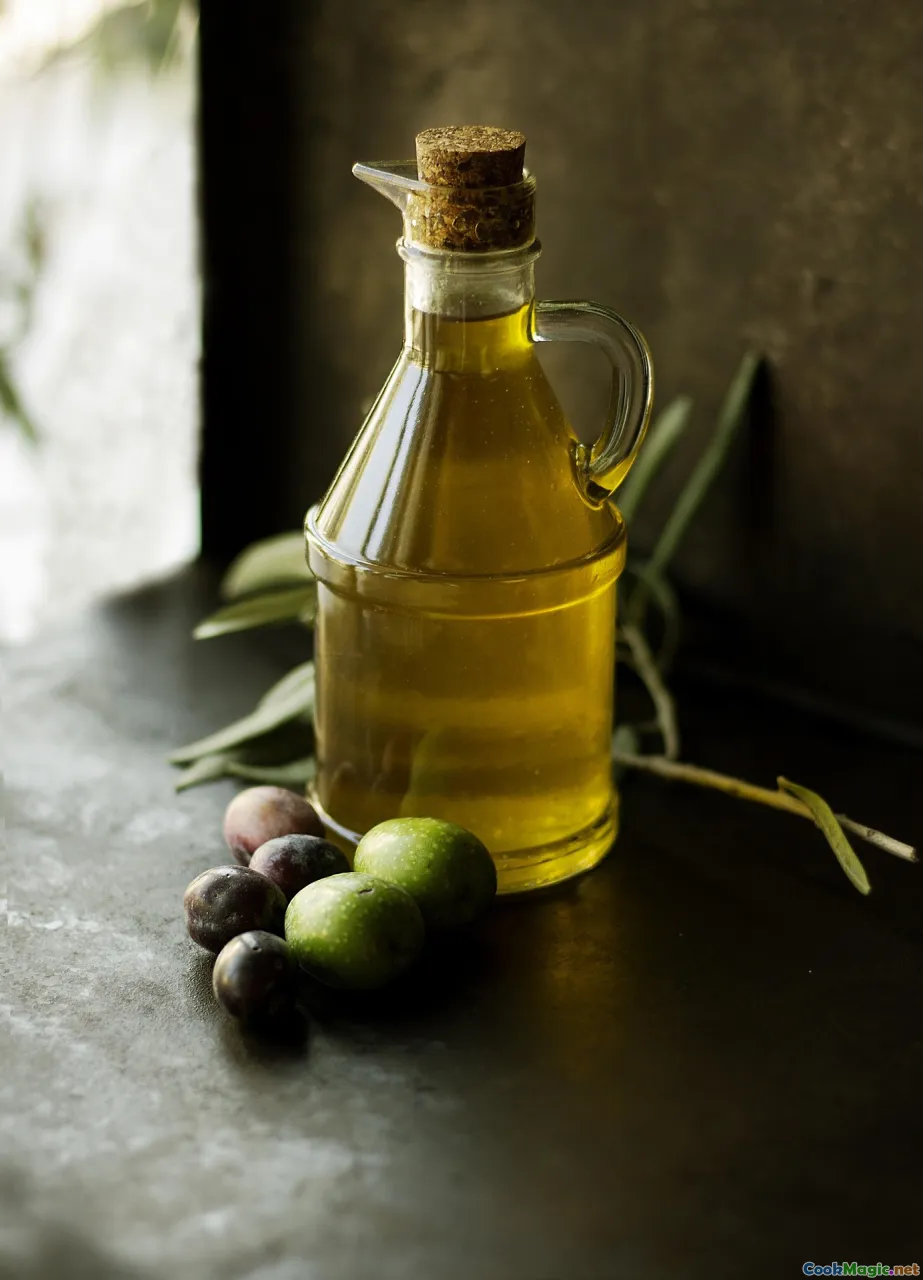
There's an almost hypnotic allure to those beautifully vibrant bottles of infused oils lining shelves at artisanal markets, their gentle shimmer hinting at countless layers of flavor beneath the surface. But beyond their visual appeal lies a world of culinary potential—flavor bombs that elevate dishes from simple to spectacular. While store-bought infused oils are convenient, nothing compares to the rich, personal touch of crafting your own. Welcome to the artful world of homemade infused oils, where tradition, creativity, and a keen palate converge.
The Allure of Infused Oils: A Journey Through Taste and Tradition
Infused oils carry centuries of cultural heritage—think Mediterranean zest, Asian aromatics, Middle Eastern spices—yet they've persisted because of their unparalleled ability to amplify the sensory experience of food. Picture a drizzle of garlic-infused olive oil on a slice of freshly baked baguette or a splash of chili oil on cold soba noodles. These small additions imbue dishes with complexity, depth, and personality.
Historically, infused oils served both practical and ceremonial purposes. Ancient Mediterranean civilizations, especially Greece and Italy, used lemon and herb infusions to preserve flavors and convey cultural identity. In Asia, chili oil became a staple in balancing spicy heat with fragrant aromatics, especially in Sichuan cuisine. Today, chefs and home cooks alike harness their magic, infusing oils with ingredients that spark joy, evoke memory, and inspire innovation.
Why Make Your Own Infused Oil? The Benefits and Personal Touch
While bottled infused oils are readily available, homemade versions offer boundless advantages:
- Freshness & Flavor Intensity: Maturing your oils with ripe herbs, fiery peppers, or fragrant spices yields intense, fresh flavors unmatched by commercial counterparts.
- Control Over Ingredients: Use extra-virgin olive oil, nut oils, or seed oils—know exactly what’s in your bottle.
- Customization & Creativity: Blend herbs, fruits, or traditions to match your palate and culinary goals.
- Cost-Effective & Sustainable: Harness ingredients from your garden or local markets, reduce packaging waste.
A personal anecdote: When I first infused olive oil with fresh rosemary from my garden, the aroma alone transported me to Italy’s Ligurian coast, where thyme and basil paint the hillside. The extra layer of love and specificity transformed mundane dishes into comforting memories.
Essential Tips and Techniques for Infusing Oils
Choosing the Right Base Oil
Select oils that complement your infusion ingredients. Extra-virgin olive oil lends a robust, peppery backbone ideal for herbs, whereas neutral oils like grapeseed or sunflower work better for delicate floral or fruit infusions.
Freshness Matters
Use fresh herbs, garlic, or chilies. Dried ingredients can work, but fresh imparts more vibrant and complex flavors. Ensure ingredients are dry to prevent spoilage.
Preparation & Handling
- Gently wash and thoroughly dry ingredients to prevent microbial growth.
- Bruise or crush herbs slightly to release essential oils.
- For peppers and garlic, slice thinly to maximize infusion surface area.
Infusion Time & Temperature
Basic infusions can be achieved after a few days at room temperature: place your ingredients in a clean jar, cover with oil, and store in a dark, cool place. For a more developed flavor, let it sit for 1-2 weeks.
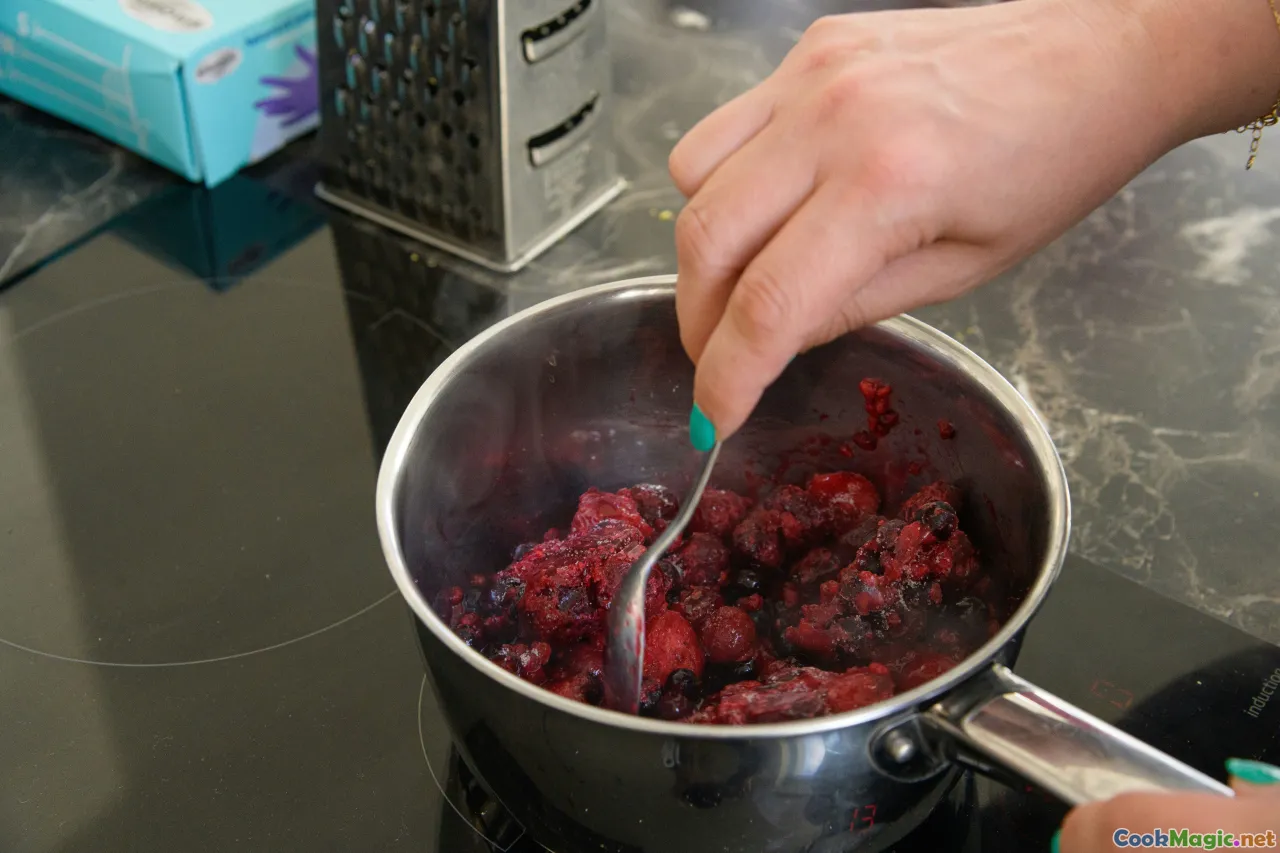
- Hot infusions involve gently warming the oil with ingredients over low heat for about 10-15 minutes—this speeds up the process but requires careful attention to avoid overheating.
- Cold infusions develop deeper flavors over several weeks.
Sealing & Filtration
- Ensure jars are sterilized before use.
- After infusion, strain out solids through cheesecloth or a fine sieve to prevent spoilage.
- Store infused oils in dark glass bottles or pantry jars; always keep away from direct sunlight.
Mastering Classic Infused Oils: Step-by-Step Guides
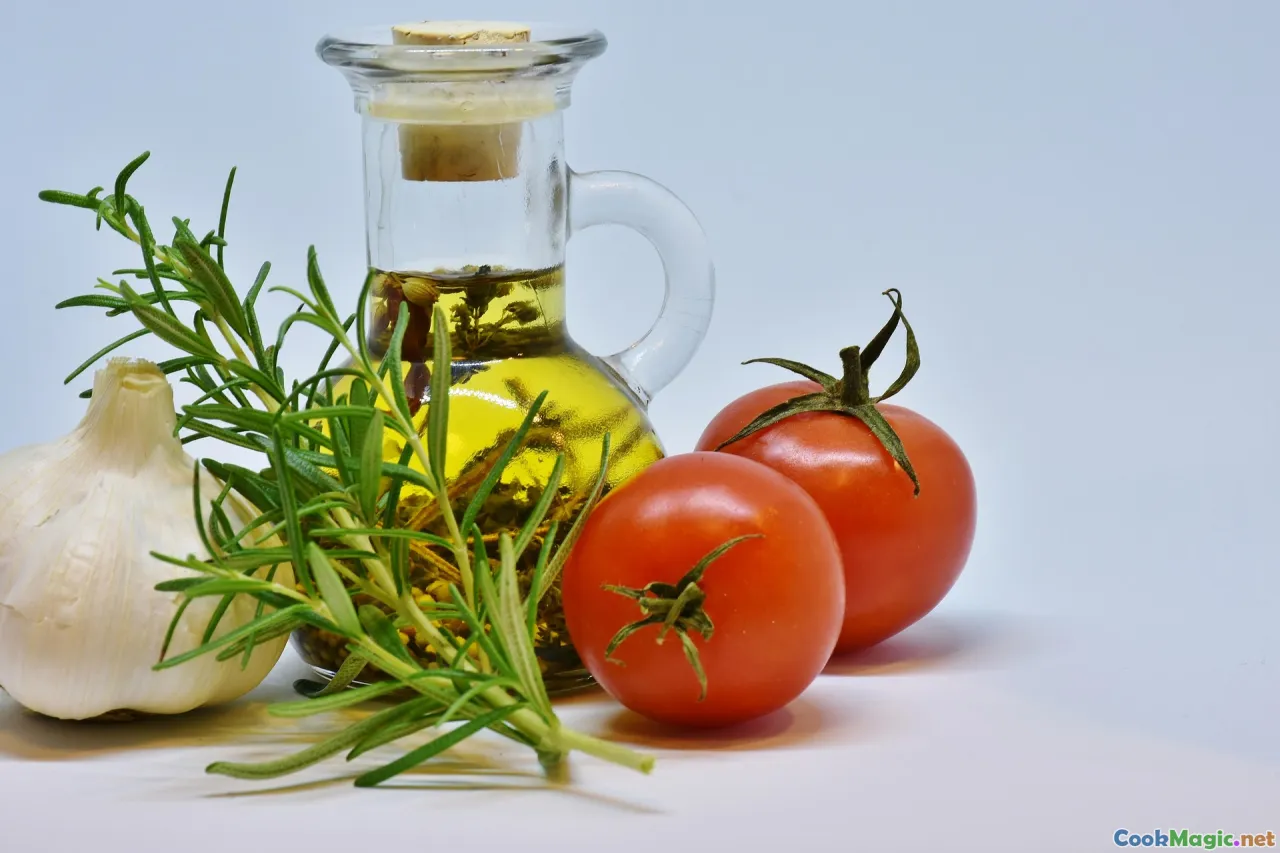
Garlic & Herb Olive Oil
Ingredients:
- 2 cups extra-virgin olive oil
- 4 garlic cloves, sliced
- 2 sprigs fresh rosemary
- 1 tsp black peppercorns (optional)
Instructions:
- Sterilize your jar and ingredients.
- Slice garlic thinly and bruise rosemary.
- Combine all in the jar, cover with oil.
- Seal tightly, store in a dark place for 1-2 weeks.
- Strain and store in a clean bottle.
Spicy Chili Oil
Ingredients:
- 1 cup neutral oil (like grapeseed)
- 1/4 cup dried red chili flakes
- 2 garlic cloves, smashed
- 1 teaspoon Sichuan peppercorns
Instructions:
- Gently warm oil over low heat.
- Add garlic and peppercorns, infuse for 10 minutes.
- Remove from heat and add chili flakes, letting it sit uncovered for 24 hours.
- Strain out solids, bottle, and enjoy spicy, smoky heat.
Citrus-Infused Oil
Ingredients:
- 1 cup olive oil
- Zest of 1 lemon and 1 orange
- 1 small sprig thyme
Instructions:
- Combine ingredients in a jar, warm gently for 10 minutes.
- Let sit for at least 48 hours.
- Strain and store for a bright, aromatic finishing touch.
Unusual Combinations and Creative Infusions
Thinking beyond traditional pairings opens exciting possibilities. Imagine infusing walnut oil with toasted fennel seeds, creating a nutty, aromatic base for salads or finishing grilled vegetables. Or, infusing toasted sesame oil with fresh ginger slices—perfect for a stir-fry or ramen bowl.
Personal favorite: I once combined blueberry with rosemary for a sweet and herbal infusion that complemented panna cotta and roasted chicken alike. The key is balancing flavors—you want complexity, not chaos.
Troubleshooting and Safety Tips
- Avoid Spoilage: Always ensure ingredients and containers are perfectly sterilized.
- Watch for Off-Flavors: If your oil smells sour, musty, or yeasty, discard—it’s spoiled.
- Limit Infusion Time: Over-infusing can lead to bitterness or rancidity.
- Use within a Year: Despite being preserved with oil, homemade infused oils have a shelf life—generally 6 months to a year.
Final Touches: Serving and Using Infused Oils
Infused oils are versatile. Use them generously as finishing touches—drizzle over roasted vegetables, seafood, or pizza. Incorporate into salad dressings, marinades, and dips. A homemade chili oil can be the secret ingredient in spaghetti aglio e olio, while a citrus-infused oil brightens up baked fish.
In the end, homemade infused oils are a testament to your culinary curiosity and personal touch. They transform simple ingredients into sensory experiences—aromas that evoke memories, flavors that tell stories, textures that delight the palate. The process may be simple, but the possibilities are limitless. So grab some quality oil, your favorite aromatics, and start unlocking flavor today—all with the undeniable satisfaction of creating something uniquely yours.
Happy infusing, and may your kitchen be forever fragrant with the promise of flavor!