Step by Step Guide to Salo Curing Techniques
7 min read Discover the art of salo curing with this detailed, step-by-step guide that unveils its cultural significance, techniques, and sensory delights. April 28, 2025 07:00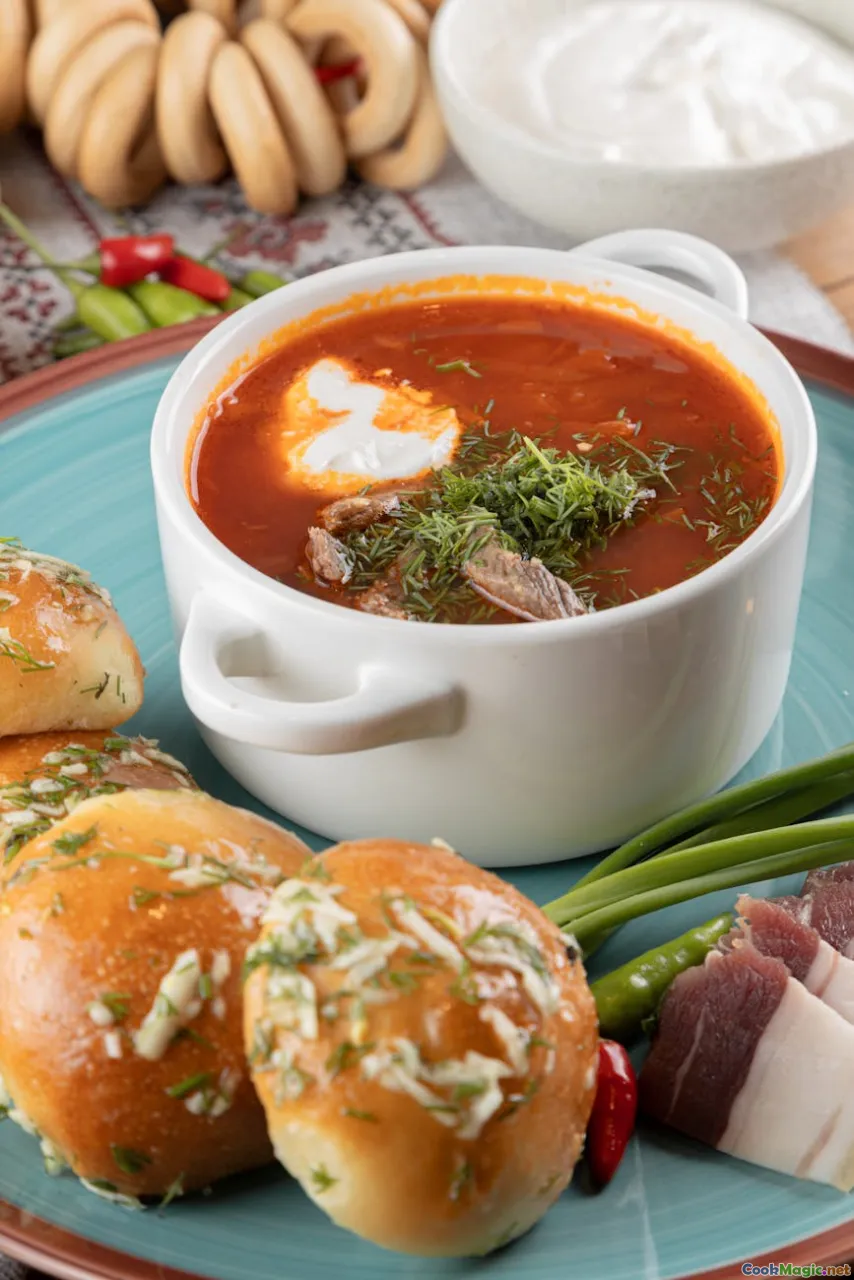
Step by Step Guide to Salo Curing Techniques
Imagine a cold winter morning in a Ukrainian village, the air crisp and filled with the aroma of smoked meats. At the center of this scene lies a slab of salo—thick, marbled pork fat—that has been lovingly cured over days or even weeks. This humble delicacy, a cornerstone of Ukrainian culinary tradition, embodies more than just flavor; it encapsulates history, family heritage, and the artistry of preservation.
The Cultural and Historical Significance of Salo in Ukrainian Cuisine
Salo isn't merely food; it's a symbol of resilience and resourcefulness. Historically, Ukrainian peasants relied on salo to sustain themselves through harsh winters when fresh meat was scarce. Salt, a precious commodity, was used to preserve pork fat, turning it into a long-lasting delicacy.
Beyond practicality, salo holds social importance. It often appears on festive tables, carved into slices, and served with rye bread, garlic, and pickles. Its rich, melt-in-the-mouth texture and nuanced flavor reflect a tradition passed down through generations.
Understanding Salo: Types and Variations
Before diving into curing techniques, it's essential to appreciate the diversity of salo:
- Fresh Salo: Unsalted, often used for immediate consumption or further processing.
- Salt-Cured Salo: Coated with salt and kept refrigerated for weeks.
- Smoked Salo: Cured and then smoked over hardwood, adding depth and aroma.
- Spiced Salo: Infused with garlic, peppercorns, or herbs for enhanced flavor.
Each type offers a different sensory experience, from the pure richness of fresh fat to the smoky, savory notes of traditional cured salo.
Ingredients and Tools Needed
To master salo curing, gather the following:
- High-quality pork fat (salo): Preferably from a healthy pig, with a good marbling.
- Salt: Coarse sea salt or kosher salt.
- Optional seasonings: Black peppercorns, garlic cloves, bay leaves, paprika, or herbs.
- Cleaning supplies: Sharp knives, cutting board.
- Container: Non-reactive, such as glass or ceramic.
- Refrigeration space: For curing and storage.
- Smoker (optional): For smoking the salo.
Step-by-Step Curing Process
1. Selecting and Preparing the Salo
Start with a fresh, firm piece of pork fat. Ideally, it should have a good layer of meat on one side and a thick, white fat layer. Trim away any blood spots or impurities, but leave the fat intact.
2. Salting
- Dry Brine Method: Rub the salo generously with coarse salt, ensuring all surfaces are covered.
- Wet Brine Method: Dissolve salt in water (about 2-3% salt by weight) and submerge the salo.
For traditional Ukrainian salo, the dry salt method is preferred for its simplicity and flavor development.
3. Adding Seasonings
After salting, you can enhance flavor by inserting garlic cloves or peppercorns into small cuts in the fat or rubbing herbs onto the surface.
4. Curing
Place the salted salo in a non-reactive container, cover, and refrigerate. The curing time varies:
- Basic cure: 5-7 days for a mild flavor.
- Extended cure: Up to 3 weeks for deeper flavor and firmer texture.
Turn the salo periodically to ensure even curing.
5. Rinsing and Drying
Once cured, rinse off excess salt and seasonings under cold water. Pat dry with paper towels.
6. Optional Smoking
For a traditional Ukrainian smoked salo, proceed to smoke the cured fat over hardwood (oak or applewood) at low temperatures (around 80-100°C) for several hours until it develops a smoky aroma and a firm texture.
7. Aging and Storage
Allow the salo to rest in a cool, airy place for a few days to let flavors meld. Wrap it tightly in parchment or vacuum-seal for longer storage.
Tips for Perfect Salo Curing
- Quality matters: Use fresh, high-quality pork fat.
- Salt balance: Too much salt can overpower; too little may lead to spoilage.
- Temperature control: Keep the curing environment cold to prevent bacterial growth.
- Experiment: Adjust seasonings to personal taste—garlic, paprika, or herbs can transform the flavor.
Personal Reflections and Cultural Insights
In my own culinary journey, mastering salo curing was a revelation. The patience required mirrors the Ukrainian spirit—resilient and dedicated. The first time I tasted my homemade cured salo, its rich, melt-in-the-mouth texture transported me to a quiet village kitchen, where family stories are shared over simple, profound food.
Curing salo is more than a preservation technique; it’s an act of honoring tradition, a bridge between past and present. Each slice carries the aroma of history, the warmth of family gatherings, and the pride of craftsmanship.
Serving Suggestions
Traditionally, Ukrainian salo is sliced thin and served with dark rye bread, topped with raw garlic, pickles, or mustard. It pairs beautifully with a shot of horilka (Ukrainian vodka) or a glass of chilled kvass. Its complex flavors also complement sharp cheeses, fresh vegetables, or crispy potatoes.
Final Thoughts
Mastering the art of salo curing is a rewarding journey into Ukrainian culinary heritage. With patience, attention to detail, and a love for tradition, you can create a delicacy that not only delights the palate but also connects you to centuries of cultural history. Whether enjoyed as part of a festive feast or a simple snack, homemade salo embodies the essence of Ukrainian resilience and flavor—a true testament to the timeless art of preservation.