Proper Techniques for Cooking Peruvian Causa
8 min read Discover authentic methods and tips for preparing Peruvian Causa, a vibrant dish rooted in history, culture, and exquisite flavors. April 22, 2025 23:55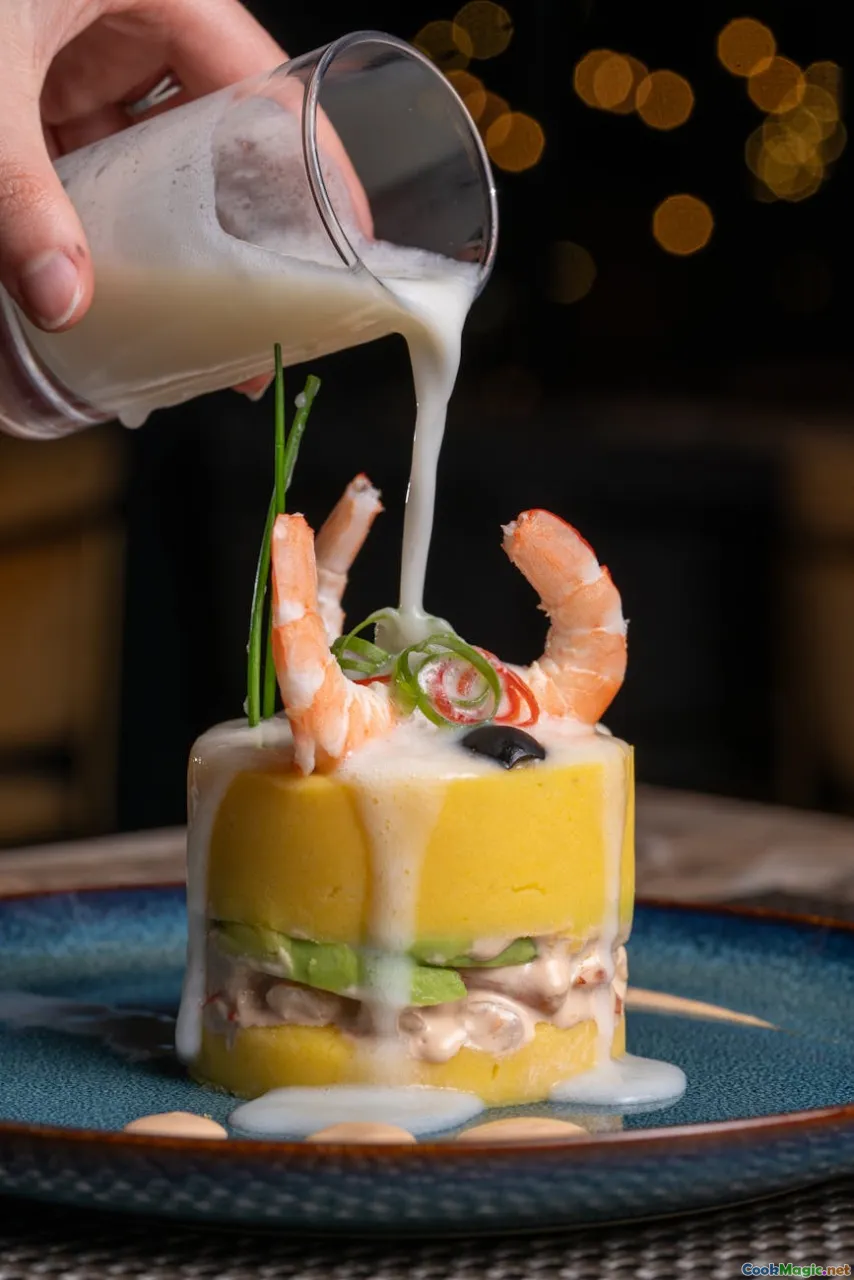
Proper Techniques for Cooking Peruvian Causa
Peruvian cuisine is a tapestry woven with centuries of history, vibrant flavors, and cultural influences from the Andes, Africa, Spain, and Asia. Among its iconic dishes, Causa stands out as a shining example of the country's rich culinary heritage—an appetizer that is as colorful and diverse as Peru itself. Preparing an authentic Causa requires not just following a recipe but understanding the techniques that bring its delicate balance of textures, flavors, and visual appeal to life.
The Story Behind Causa: A Cultural Snapshot
Before diving into the technicalities, it’s essential to appreciate the cultural significance of Causa. Originally a humble dish enjoyed by Peruvian farmers, Causa has evolved into a festive staple, often served during celebrations and family gatherings. Its origins trace back to pre-Columbian times, where mashed potatoes—introduced by the Spanish—became a canvas for local flavors.
Peruvian Causa is more than just a potato dish; it’s a reflection of Peru’s diverse geography and history. The dish combines the earthy sweetness of yellow potatoes, the tang of lime, the heat of chili peppers, and the freshness of seafood, chicken, or vegetables. Its layered presentation and vibrant colors make it visually striking, inviting diners to savor every bite.
The Foundation: Selecting and Preparing the Potatoes
1. Choosing the Right Potatoes
The cornerstone of Causa is the yellow Peruvian potato, known for its creamy texture and bright color. When sourcing potatoes, opt for Yukon Gold or similar waxy varieties if authentic Peruvian potatoes aren’t available. The key is to find potatoes that are firm, smooth, and free of blemishes.
2. Cooking the Potatoes Perfectly
Technique:-Boiling: Place the potatoes in a large pot of cold, salted water. Bring to a gentle boil over medium heat. Avoid overboiling to prevent waterlogging.
- Simmering: Cook until a fork pierces the potato easily—around 20-25 minutes, depending on size.
- **Steaming Option:**For a fluffier texture, steam the potatoes instead of boiling, which preserves their natural flavor and prevents excess water absorption.Tip: Do not overcook; the potatoes should be tender but not mushy. Proper cooking is crucial to achieve that smooth, malleable consistency.
3. Peeling and Mashing
Once cooked, drain and let the potatoes cool slightly. Peel them carefully using a paring knife or your hands if cooled enough. For an ultra-smooth mash:
- Use a potato ricer or food mill to avoid lumps.
- Pass the potatoes through the ricer onto a clean work surface or mixing bowl.
Creating the Perfect Causa Mixture
1. Incorporating Flavors
The mashed potatoes are transformed into the flavorful base with the addition of:
- Lime juice (freshly squeezed)
- Aji amarillo paste (for authentic heat and color)
- Salt and pepper
- Olive oil or a light neutral oil
- Optional: a pinch of cumin or garlic powder for depth
Technique:
- Mix thoroughly until all ingredients are well incorporated.
- The mixture should be smooth, slightly moist, but not sticky.
- Adjust lime and seasoning to taste—aim for a bright, tangy flavor that balances the richness of the toppings.
2. Achieving the Right Consistency
The mixture should hold shape when molded but remain tender. If too firm, add a touch more lime juice or a splash of oil. If too soft, fold in a small amount of additional mashed potato.
Assembling the Causa: Layering and Presentation
1. Preparing the Mold
Use a ring mold or a cylindrical mold for a professional look. Lightly oil the mold to prevent sticking.
2. Building Layers
- Base Layer: Spread a thin layer of the seasoned mashed potato inside the mold.
- Filling: Add your choice of filling—avocado slices, shredded chicken, tuna, or vegetables—spread evenly.
- Top Layer: Cover with another layer of seasoned mashed potato.
3. Chilling
Once assembled, cover the mold with plastic wrap and refrigerate for at least 1-2 hours. Chilling helps the layers set, making slicing easier and cleaner.
Garnishing and Serving
Peruvian Causa is traditionally garnished with bright, fresh toppings:
- Sliced avocado
- Hard-boiled eggs
- Black olives
- Cherry tomatoes
- Fresh cilantro or parsley
The visual appeal is essential; aim for a colorful, inviting presentation that highlights the dish’s freshness.
Personal Tips and Reflections
Having prepared countless batches of Causa, I’ve learned that patience and attention to detail are key. The quality of the potatoes, the freshness of the lime, and the balance of seasoning make all the difference. I love to experiment with fillings—sometimes adding a touch of mayonnaise or a hint of aji verde for extra richness.
One memorable experience was serving Causa at a family gathering in Lima. The aroma of lime and chili filled the air, and watching guests eagerly cut into the layered masterpiece reminded me of how food connects us to tradition and community.
Final Thoughts
Mastering the proper techniques for cooking Peruvian Causa elevates this humble dish into a culinary celebration. From selecting the perfect potatoes to layering with finesse, each step is an opportunity to honor Peru’s rich food heritage. Whether you’re preparing it for a casual dinner or a festive occasion, a well-made Causa will always impress with its vibrant flavors, enticing textures, and cultural storytelling.
Embark on this culinary journey with patience and passion, and you’ll find that creating authentic Peruvian Causa is as rewarding as it is delicious. ¡Buen provecho! (Enjoy your meal!)