How to Prepare Authentic Armenian Lavash at Home
9 min read Discover the art of making authentic Armenian lavash at home with step-by-step techniques, cultural insights, and sensory-rich tips to bring this ancient bread to your table. April 26, 2025 11:00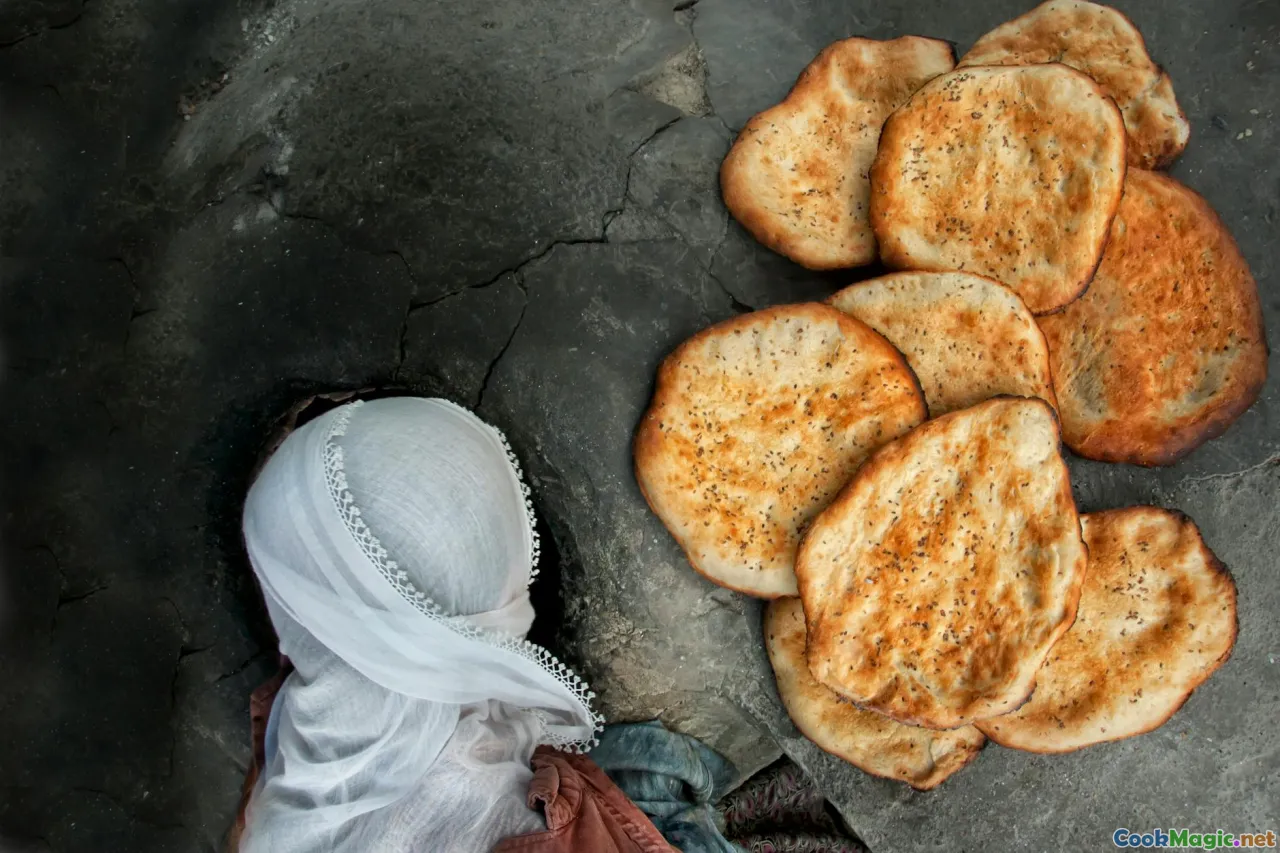
How to Prepare Authentic Armenian Lavash at Home
Introduction: The Heartbeat of Armenian Culture
Imagine standing in the warm, bustling kitchen of an Armenian family, the air thick with the aroma of freshly baked bread. The soft crackle of the dough as it stretches, the gentle hum of conversation, and the unmistakable scent of sesame seeds toasted to perfection—these are the sensory tapestries woven into the fabric of Armenian life. Among their treasured culinary traditions, lavash holds a special place, not just as bread but as a symbol of hospitality, community, and history that spans thousands of years.
Did you know that Armenian lavash is so integral to their culture that UNESCO has recognized it as part of the world's intangible cultural heritage? Making this ancient bread at home isn't just about baking; it's about connecting with centuries of tradition, preserving a piece of Armenian identity, and experiencing the simple joy of crafting something truly authentic.
In this comprehensive guide, we'll explore every facet of preparing traditional Armenian lavash—from its rich history to practical tips and personal insights—so you can bring a piece of Armenia into your own kitchen.
The Cultural Significance of Lavash
Lavash isn’t merely bread; it’s a living symbol of Armenian resilience and unity. Traditionally baked in tonir—a clay oven deep underground—lavash has been a staple for millennia. Its thin, flexible nature makes it perfect for wrapping kebabs, cheese, herbs, and even for making sujuk (cured sausage) wraps.
In Armenian households, lavash is often prepared collectively, especially during special occasions, festivals, or family gatherings, fostering a sense of community. It’s a bread that carries stories, songs, and shared memories—each fold echoing generations of tradition.
Historical Roots and Evolution
Armenian lavash traces back at least 4,000 years, with archaeological findings revealing ancient baking techniques that have persisted through time. Historically, it was baked in tonirs, which imparts a unique smoky flavor and crispy texture.
Today, while many Armenians still cherish the traditional methods, modern ovens and home techniques have made this bread more accessible worldwide. Yet, the core principles—thinness, flexibility, and flavor—remain unchanged.
Ingredients: Simplicity and Quality
The beauty of authentic Armenian lavash lies in its minimal ingredients:
- Flour: Traditionally, soft wheat flour is used, preferably stone-ground for richer flavor.
- Water: Clean, lukewarm water helps activate the gluten.
- Salt: Enhances flavor.
- Optional: A small amount of sugar or honey for a subtle sweetness.
For toppings:
- Sesame seeds
- Poppy seeds
- Nigella seeds
Choosing high-quality, fresh ingredients will make a noticeable difference in the final product.
Preparing the Dough: The Foundation of Success
Step 1: Mixing the Ingredients
In a large mixing bowl, combine 3 cups of stone-ground wheat flour with 1 teaspoon of salt. Slowly add about 1 cup of lukewarm water while stirring with a wooden spoon or your hand. If using, add a teaspoon of honey or sugar to boost fermentation.
Step 2: Kneading
Once the mixture comes together, transfer it onto a floured surface. Knead for about 10–15 minutes until the dough becomes smooth, elastic, and slightly tacky but not sticky. Proper kneading develops gluten, essential for the dough's stretchability.
Step 3: Resting
Cover the dough with a damp cloth or plastic wrap and let it rest for at least 1 hour. Resting allows gluten to relax, making the dough easier to roll thin.
Rolling and Shaping: Achieving the Perfect Thinness
Step 4: Dividing the Dough
After resting, divide the dough into small, equal portions—about 4–6 pieces, depending on your desired size.
Step 5: Rolling Out
Using a rolling pin, roll each piece into a very thin circle or oval, aiming for a transparency that indicates thinness. If you find it challenging, use a pasta machine or a rolling pin with uniform pressure. The goal is to get a sheet as thin as a sheet of paper.
Step 6: Adding Toppings
Lightly brush the surface with water or a little oil, then sprinkle with sesame, poppy, or nigella seeds. Press the seeds gently into the dough to ensure they adhere.
Baking: Recreating the Traditional Oven
Step 7: Baking Surface
Traditionally, lavash was baked on the walls of a tonir or a hot stone surface. At home, a preheated baking stone, cast-iron skillet, or an inverted baking sheet works well.
Step 8: Baking Process
Preheat your oven to the highest setting (450–500°F or 230–260°C). Place the rolled-out lavash on the baking surface. Bake for 2–4 minutes, watching carefully. The bread should puff slightly and develop a golden, crispy edge.
Step 9: Flipping and Finishing
For an evenly baked lavash, flip it halfway through. Once done, remove from the oven and immediately cover with a clean towel to keep it soft and warm.
The Final Touch: Serving and Storage
Freshly baked lavash is best enjoyed warm. Use it to wrap kebabs, serve alongside dips like hummus or yogurt, or tear into rustic pieces for a snack.
To store, let the bread cool completely, then keep in an airtight container or wrap in a clean towel. It can be reheated briefly in a dry skillet or oven.
Personal Insights and Tips
- Patience is key: Rolling thin takes practice. Take your time and enjoy the meditative process.
- Authentic flavor: Toasted sesame seeds add a nutty aroma that elevates the bread.
- Experiment with toppings: Poppy seeds, nigella, or even chopped herbs can add unique flavors.
- Cooking in a tonir: If you ever visit Armenia, witnessing or participating in traditional tonir baking offers an unforgettable experience.
Embracing the Tradition
Making lavash at home is more than just baking bread; it’s a journey into Armenian history and culture. Each step, from mixing to baking, connects you with centuries of tradition and community. While the process may require patience and practice, the reward is a warm, fragrant, and culturally rich loaf that embodies the spirit of Armenia.
So, gather your ingredients, roll out your dough, and let your kitchen become a hearth of tradition. With each piece of lavash, you carry forward a timeless culinary heritage—delivering not just bread, but a story of resilience, family, and identity.
Enjoy your baking journey!